Note: This post may contain affiliate links. This means if you click a link and make a purchase, we may earn a small commission at no extra cost to you. Thank you for supporting our content!
Easy Deviled Brownies: The Ultimate Festive Easter Dessert!
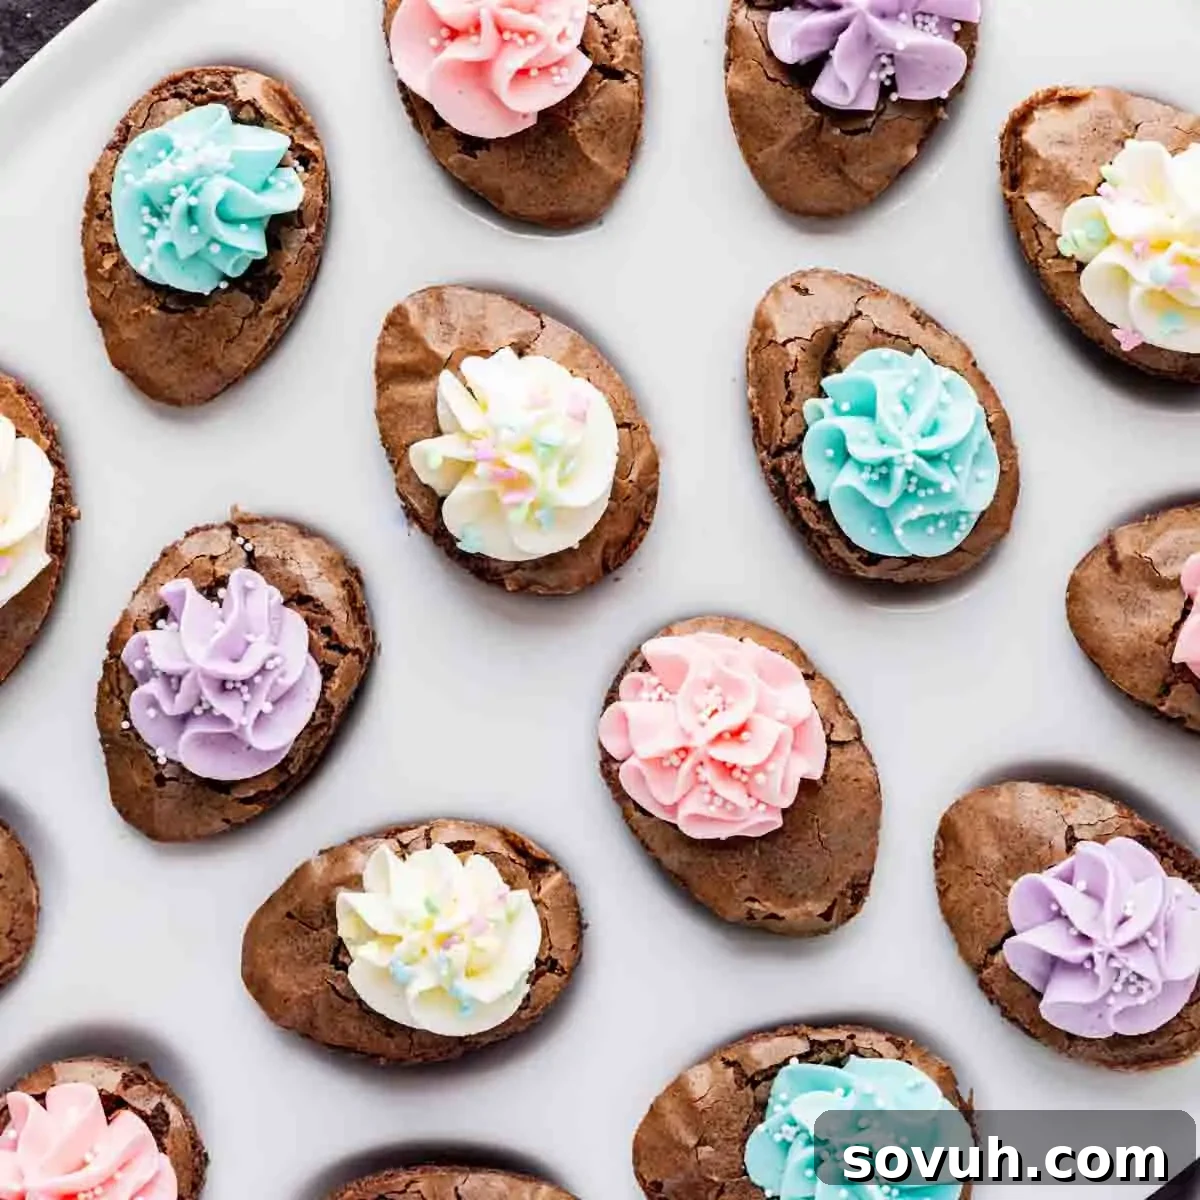
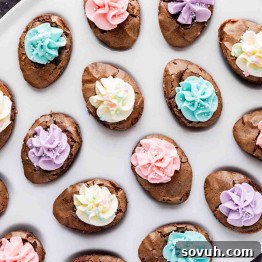
Get ready to bake the most adorable and effortlessly delicious Easter dessert with these charming Deviled Brownies! Combining the rich, fudgy goodness of brownies with playful, vibrant frosting, these delightful bites are designed to look like mini deviled eggs, making them a unique and conversation-starting addition to any spring gathering. Whether you’re hosting an Easter brunch, a casual spring party, or simply looking for a fun baking project with the kids, these frosted brownie treats are sure to be a hit. Best of all? They start with a simple brownie mix, proving that impressive desserts don’t have to be complicated.
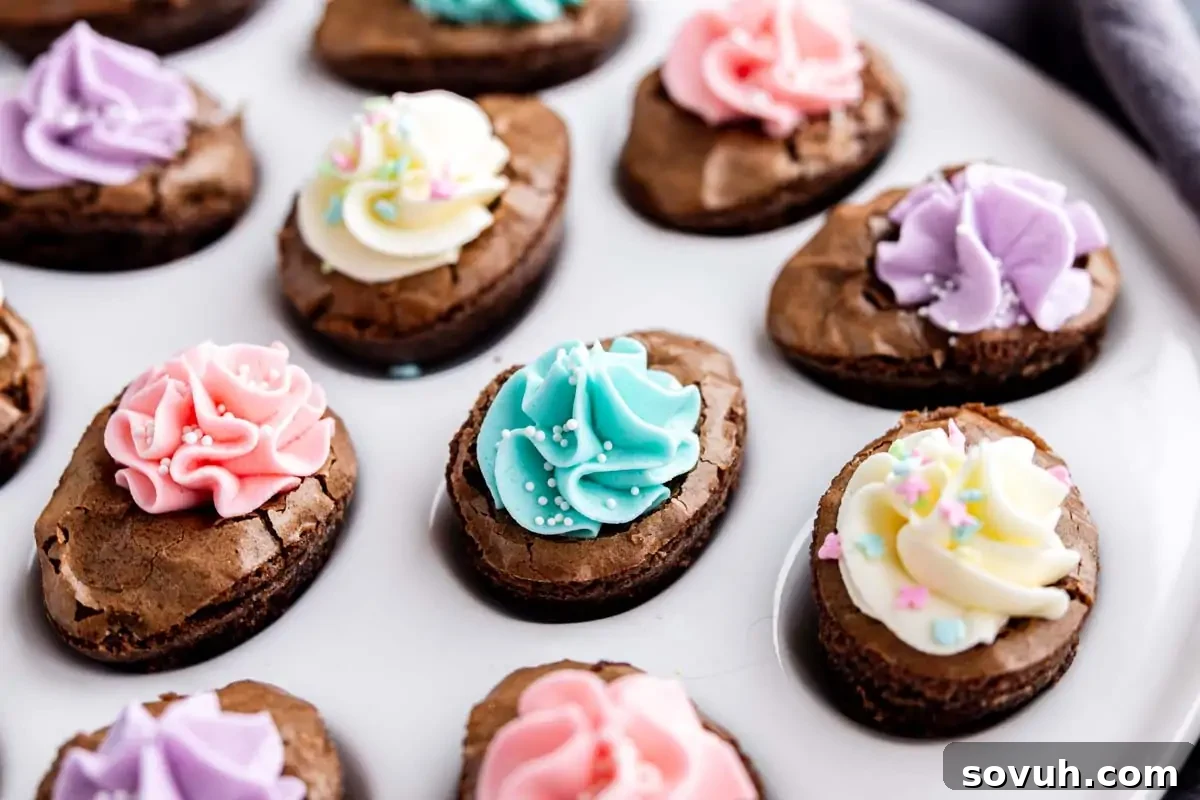
These Deviled Brownies are not just cute; they’re a testament to how easy it is to create a show-stopping dessert with minimal effort. Using a standard box brownie mix and a clever silicone egg mold, you can transform ordinary brownies into a whimsical, holiday-themed treat that everyone will adore. Each fudgy bite is complete with a vibrant, colorful “yolk” of frosting, making them irresistibly fun for all ages. They are an absolute perfect fit for Easter brunch, spring baby showers, school events, or any occasion where you desire a festive, chocolatey, and easy-to-serve sweet treat. Forget complicated recipes – this brownie bites recipe brings maximum charm with minimal fuss.
What truly elevates this brownie mix dessert is its versatility and simplicity. You have the freedom to choose between crafting your own homemade buttercream frosting for that extra touch of deliciousness, or opting for a convenient can of store-bought frosting to save time. Whichever you choose, simply tint it with your favorite food colorings and pipe it into the center of each brownie. This simple shortcut maintains the adorable aesthetic without adding extra stress to your baking schedule. If you’re on the hunt for a boxed brownie mix recipe that’s charming, appeals to children, and perfectly prepared for any celebration, these Deviled Brownies are an undeniable success story. They are guaranteed to become a new favorite in your Easter baking repertoire!
Looking for More Easy Easter Desserts? Try These Festive Ideas!
- Easter Peeps S’mores Dip – A gooey, marshmallowy delight!
- Easter Candy Blondies – Packed with all your favorite seasonal sweets.
- Bird’s Nest Easter Cupcakes – Adorably themed cupcakes perfect for spring.
- Bunny Bait – A fun, snackable mix for all your little bunnies.
- More Easy Easter Dessert Recipes – A collection of delightful treats to inspire your holiday baking.
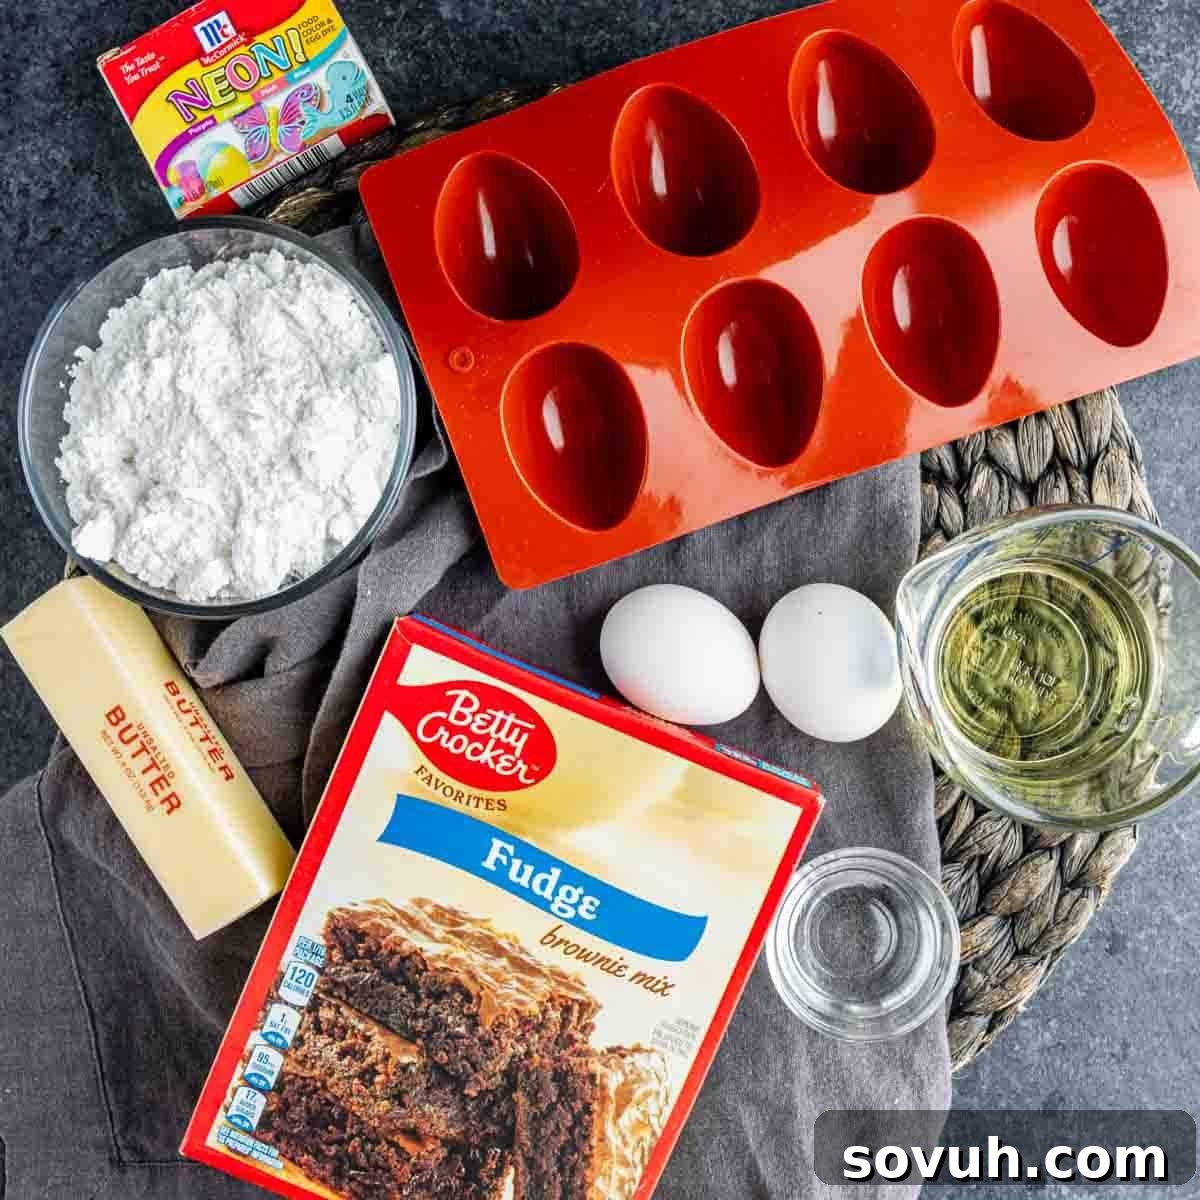
Ingredients You’ll Need for Deviled Brownies
Creating these charming Deviled Brownies requires just a few basic ingredients, many of which you likely already have in your pantry. We’ll outline what you need for both the fudgy brownie base and the creamy, colorful frosting.
- Box Brownie Mix: This forms the simple yet delicious foundation of our recipe. Feel free to use your favorite brand; a fudgy-style mix is highly recommended as it yields wonderfully rich, soft brownie bites that hold their shape beautifully in the molds. Just be sure to prepare it according to the instructions on the back of the box.
- Ingredients Called For on the Brownie Box: These typically include eggs, vegetable oil, and water, though specific requirements can vary slightly by brand. Always follow the package directions precisely to ensure your brownie batter achieves the perfect texture for baking.
- Unsalted Butter (softened): Essential for a smooth, velvety buttercream frosting with a rich, inviting flavor. If only salted butter is available, you can use it, but be aware that the frosting might have a slightly saltier finish. Ensure it’s properly softened to avoid lumps and achieve a light, airy consistency.
- Powdered Sugar (Confectioners’ Sugar): This is the key ingredient for sweetening and thickening the frosting, ensuring it remains smooth enough for piping. For the silkiest frosting, consider sifting the powdered sugar first, especially if it appears lumpy. This step helps prevent grainy frosting.
- Water or Milk: A small amount of liquid helps to achieve the ideal consistency for your frosting, making it light and perfectly pipeable. Milk will lend a slightly richer texture to the frosting, while water is a perfectly suitable alternative if that’s what you have on hand.
- Vanilla Extract: Adds a warm, classic flavor that beautifully balances the sweetness of the frosting. For particularly bright and vibrant frosting colors, clear vanilla extract can be a beneficial choice as it won’t add any tint.
- Food Coloring of Choice: This is where the magic happens, transforming your plain white frosting into fun, festive, and colorful “egg yolks.” Gel food coloring is often preferred for its ability to deliver bolder, more concentrated shades without significantly thinning the frosting. However, liquid food coloring can also be used effectively. Remember, the FDA carefully regulates food color additives for safety and proper labeling, so you can use them with confidence.
- Egg-Shaped Silicone Mold: This specific silicone mold is indispensable for achieving the signature deviled egg shape for your brownies. Its flexible nature makes removing the delicate brownie bites incredibly easy once cooled.
Optional Time-Saver: Canned Frosting! If you’re looking to make this already easy Easter dessert even simpler, canned frosting is your secret weapon. This clever shortcut eliminates the need for butter, powdered sugar, water/milk, and vanilla extract. Instead of preparing frosting from scratch, simply grab a can of vanilla or cream cheese frosting. Divide it into separate bowls if you wish to create multiple colors, tint each portion with food coloring, and then pipe it into the brownie centers. This seamless swap dramatically speeds up the process without compromising on visual appeal!
Step-by-Step Instructions: Crafting Your Deviled Brownies
Follow these simple steps to create your charming Deviled Brownies, perfect for Easter and beyond!
The Brownie Base
- Step 1: Prepare the Brownie Batter. Begin by mixing your chosen box brownie mix according to the specific instructions provided on its packaging. Incorporate all the required ingredients listed on the back of the box (typically eggs, oil, and water). Stir the mixture until all ingredients are just well combined, being careful not to overmix, as this can lead to tougher brownies.
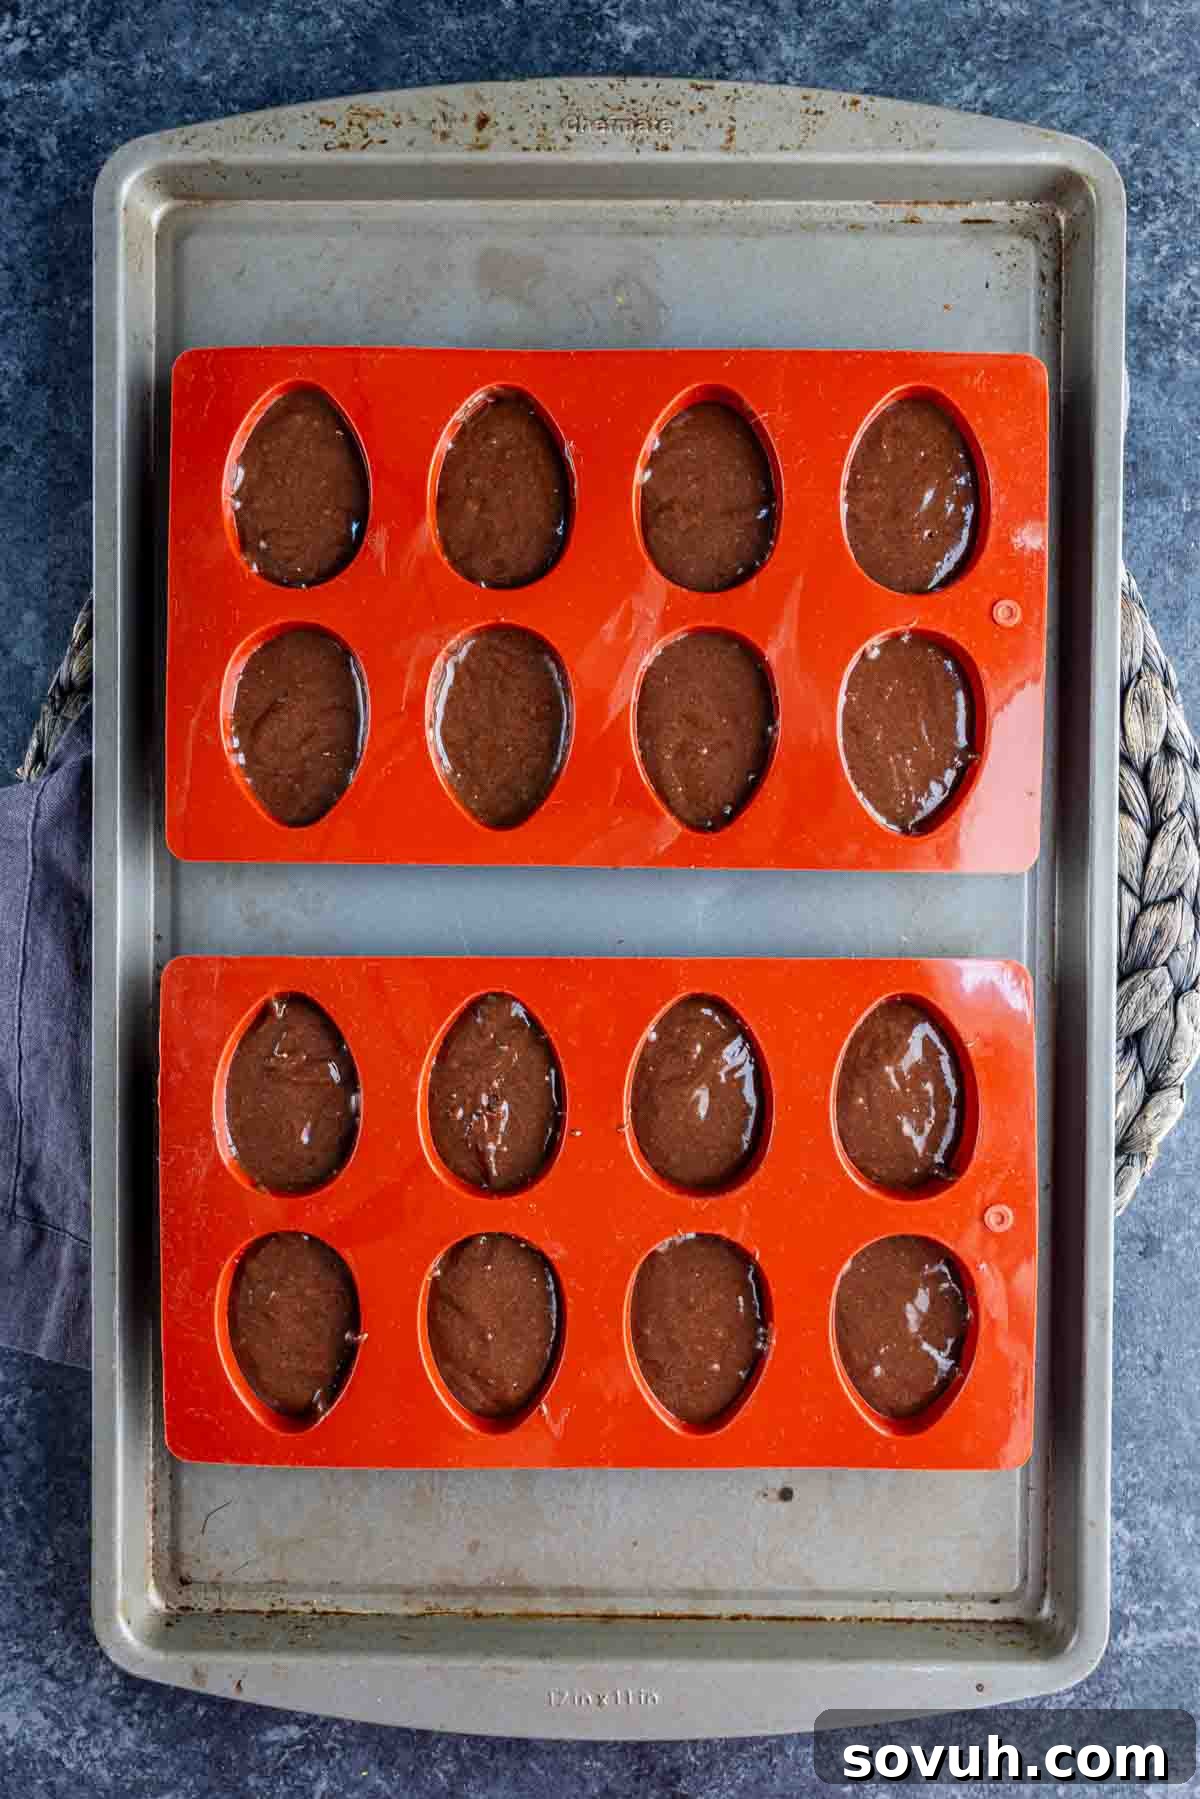
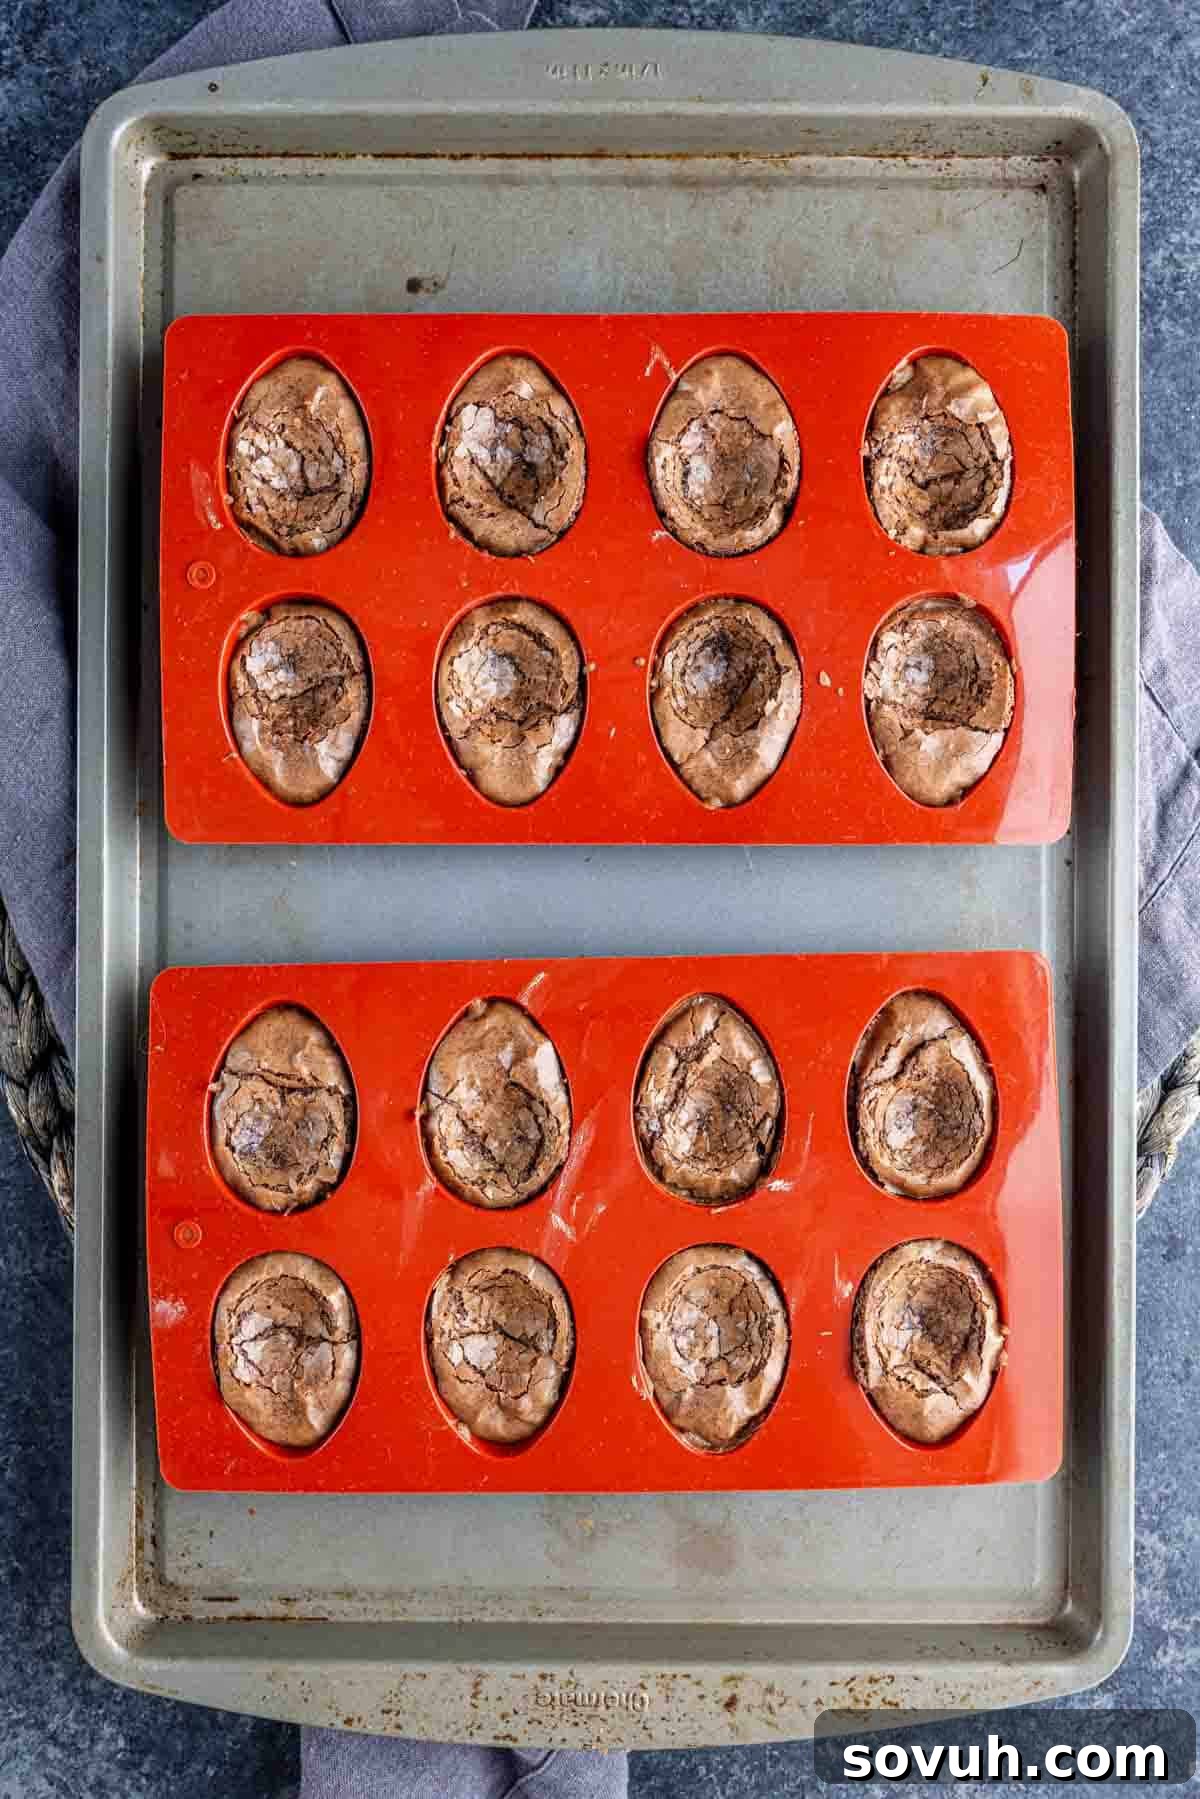
- Step 2: Fill the Egg Mold. To ensure stability during filling and baking, place your silicone egg mold onto a sturdy metal baking sheet. Carefully spoon the prepared brownie batter into each cavity of the mold, filling each one approximately three-quarters of the way full. This allows ample space for the brownies to rise without overflowing and creating messy edges.
- Step 3: Bake Until Set. Preheat your oven to 350 degrees F (175 degrees C). Bake the brownies for 20 to 25 minutes. To check for doneness, insert a toothpick into the center of a brownie; it should come out clean or with only a few moist crumbs attached. Keep a close watch on them during the final minutes, as baking times can vary slightly depending on your oven and the specific brownie mix brand.
- Step 4: Create the “Deviled Egg” Indent. This step is crucial for achieving the signature look! Immediately after removing the brownies from the oven, while they are still warm and pliable, use the back of a teaspoon or a small melon baller to gently press a shallow indent into the center of each brownie. This indentation will serve as the perfect well for your vibrant frosting “yolk.”
- Step 5: Cool Completely. Allow the brownies to cool completely within their silicone molds on a wire rack. This step is incredibly important; warm brownies are much more delicate and prone to breaking or crumbling if you attempt to remove them too soon. Patience here ensures perfectly shaped brownie bites.
The Frosting “Yolk”
- Step 6: Prepare the Homemade Frosting (if not using canned). While your brownies are cooling, it’s time to prepare your creamy homemade frosting. In the bowl of a stand mixer fitted with a paddle attachment (or using a hand mixer), combine the softened unsalted butter, powdered sugar, and 1 tablespoon of water or milk. Begin beating on low speed until the powdered sugar is incorporated, then increase to medium-high speed and beat for approximately 3 minutes until light and creamy.
- Step 7: Add Vanilla and Whip Until Fluffy. Incorporate the vanilla extract into the frosting mixture. Continue to mix on medium-high speed until the frosting is visibly light, airy, and fluffy. If the frosting appears too thick to pipe, add an additional tiny splash of milk or water, one teaspoon at a time, until the desired consistency is reached. Conversely, if it seems too soft, gradually mix in a little more powdered sugar until it stiffens.
- Step 8: Color the Frosting. Determine how many different vibrant colors you want for your “deviled egg” yolks. Divide the prepared frosting evenly into separate small bowls, one for each color. Add a drop or two of your chosen food coloring to each bowl (gel colors offer more vibrant results with less liquid) and stir thoroughly until the color is uniformly mixed throughout the frosting.
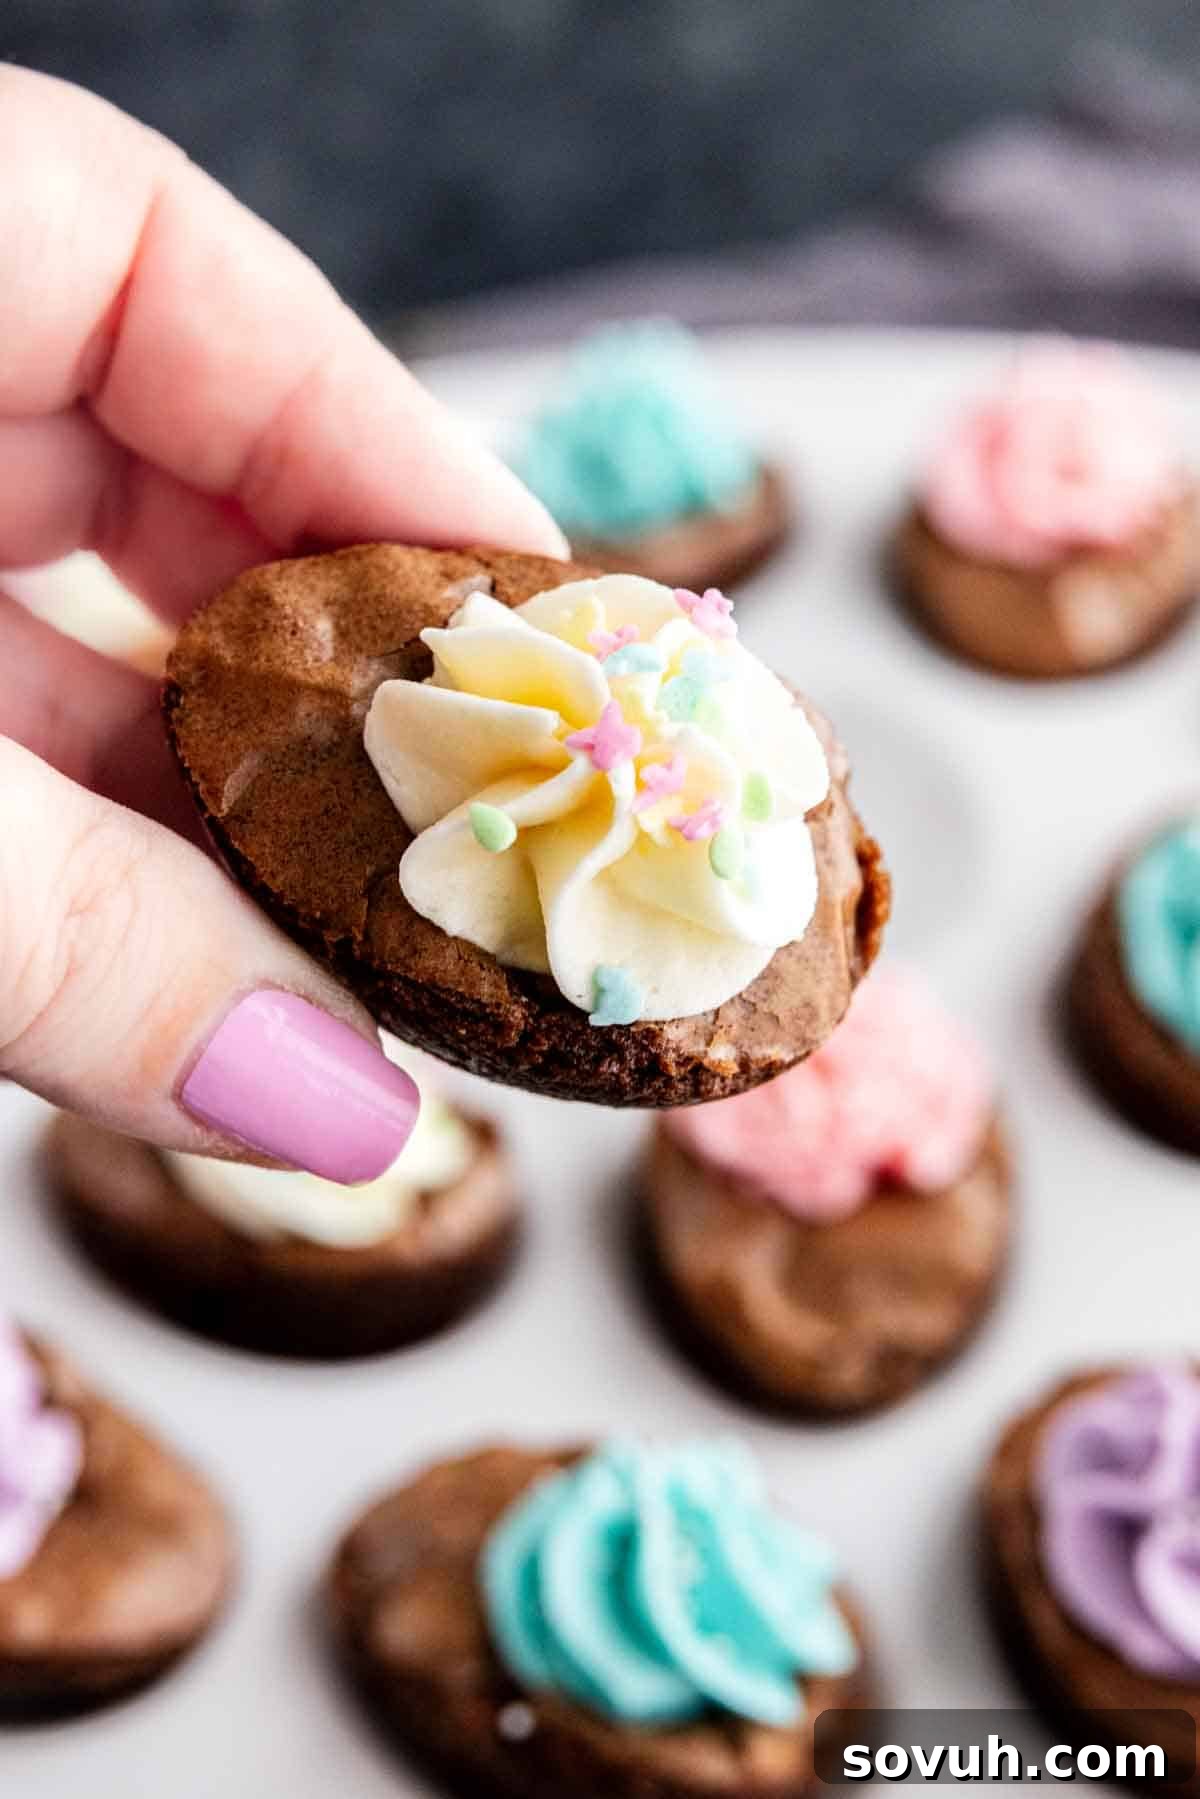
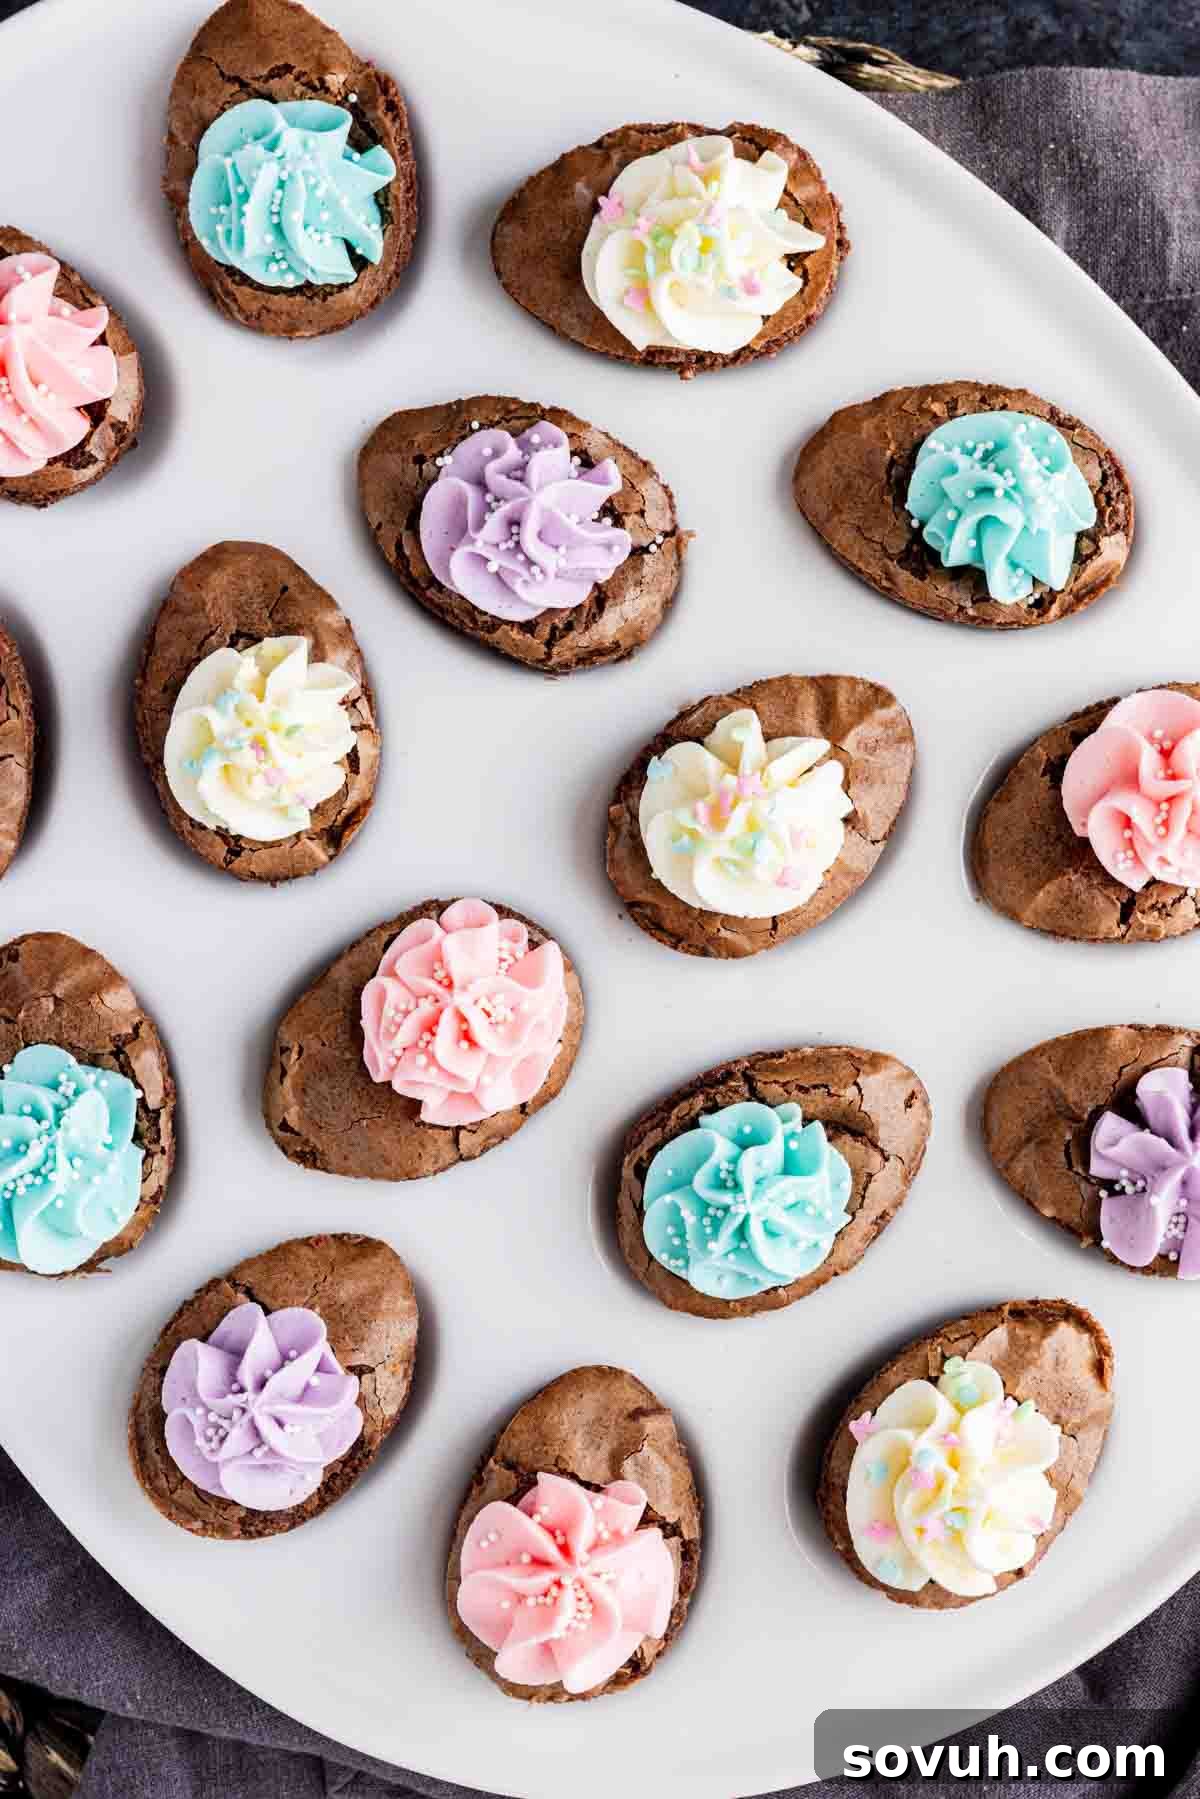
- Step 9: Pipe the Frosting into the Centers. Once the brownies are completely cool, gently remove them from the silicone mold. Spoon each color of frosting into individual piping bags fitted with your desired tip (a large star tip creates a lovely swirl, while a round tip gives a classic yolk look; even a zip-top bag with a corner snipped off works in a pinch!). Pipe the colorful frosting into the prepared indents in the cooled brownies. You can aim for a simple rounded “yolk” appearance or add decorative swirls for a more playful and intricate finish.
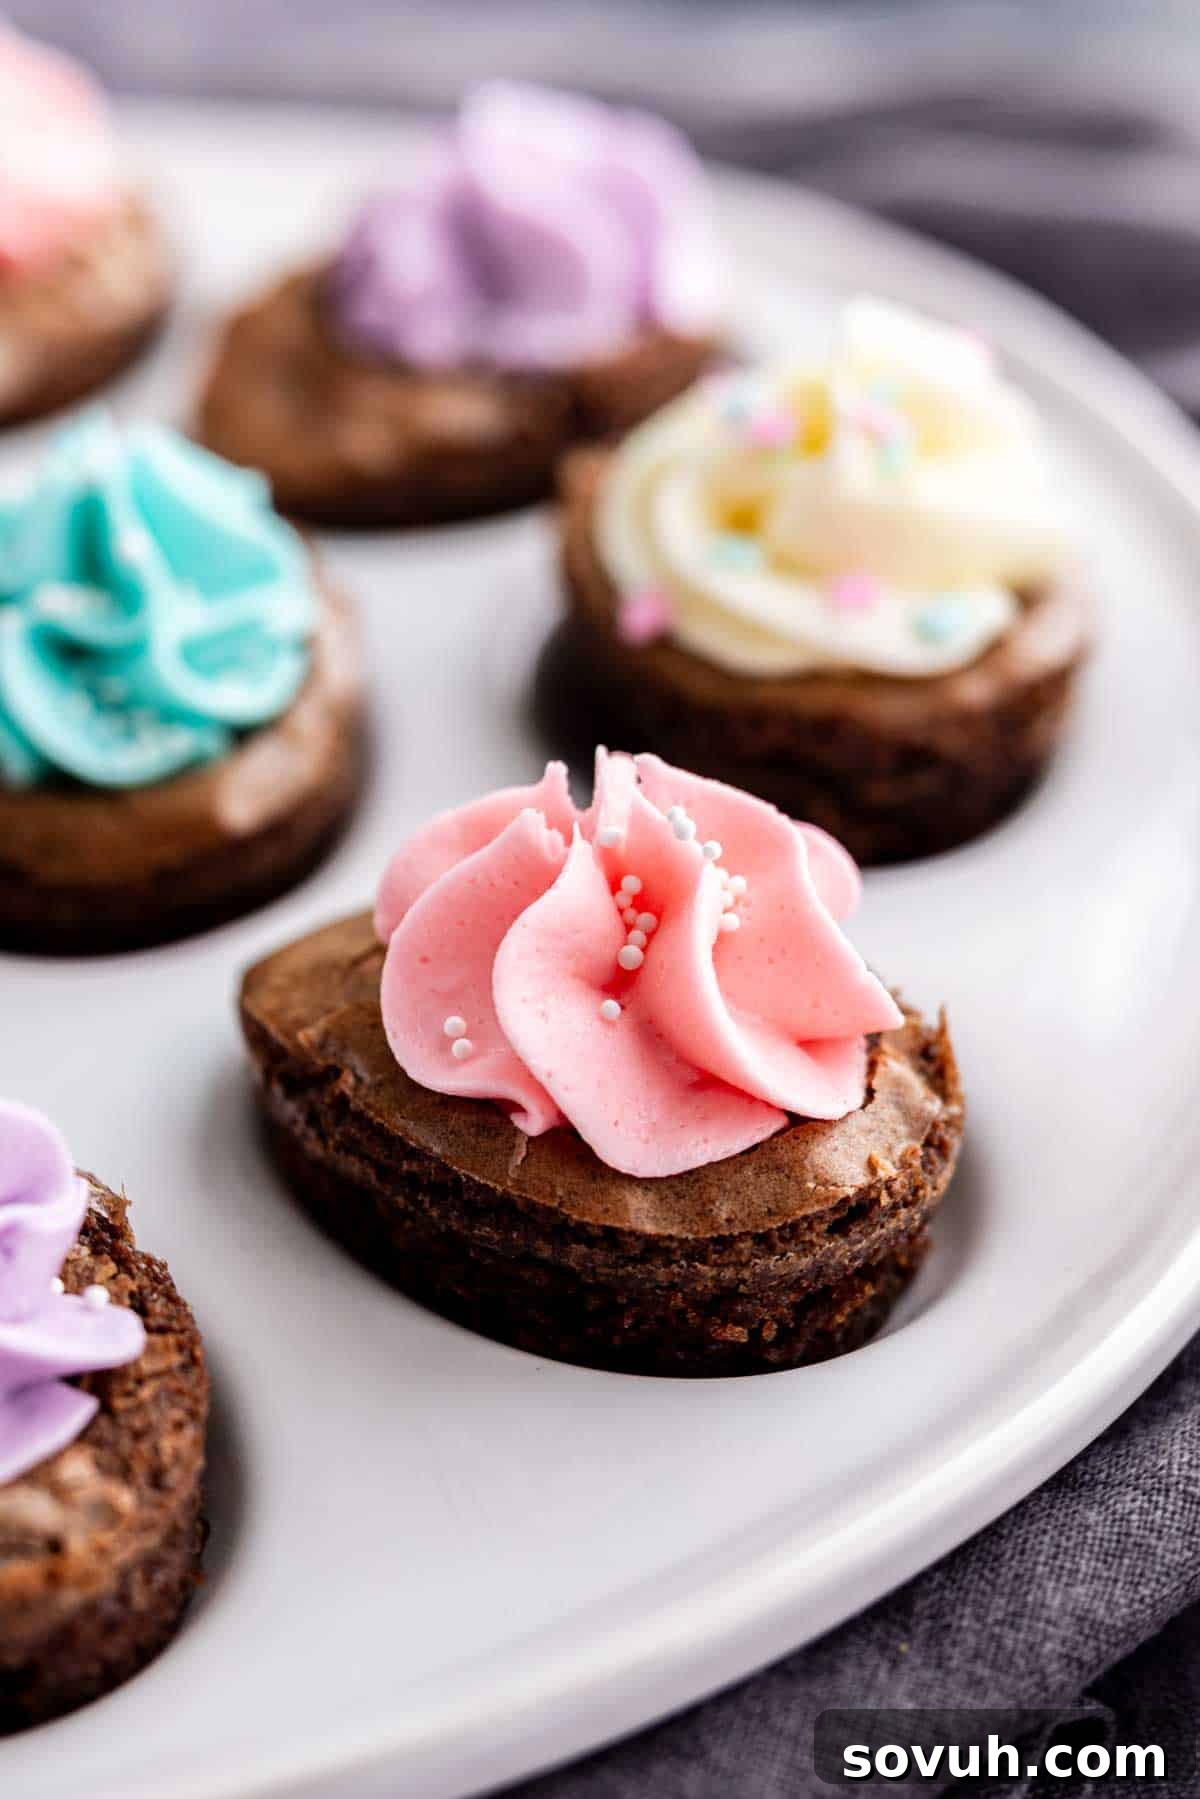
- Step 10: Serve and Enjoy. Arrange your finished Deviled Brownies beautifully on a serving platter. Garnish with a sprinkle of sanding sugar or nonpareils for extra sparkle. These cute, festive treats are almost too delightful to eat… but we promise they taste even better than they look! Prepare for compliments!
Frequently Asked Questions (FAQs) About Deviled Brownies
Absolutely, yes! This is one of the quickest and easiest ways to streamline this recipe, especially if you’re short on time. Simply use a can of your favorite vanilla or cream cheese frosting. If you desire different colors, divide the frosting into separate bowls, add your preferred food coloring to each, and then pipe it into the brownie indents. It will still look adorable and taste fantastic!
For the best results, a fudgy-style brownie mix is generally the top choice. These mixes tend to yield brownies that are rich, moist, and stay soft even when chilled, which is ideal for these small, molded treats. However, any standard boxed brownie mix will work perfectly as long as you follow its package directions for preparation. The key is to achieve a good, sturdy base for your frosting.
To achieve the distinctive deviled egg shape, a silicone egg mold is highly recommended. Silicone molds are incredibly flexible, making the removal of these delicate brownie bites much easier than with a rigid metal pan, and they are essential for creating that charming, uniform egg-like appearance. While you could theoretically bake brownies in a regular pan and cut them into oval shapes, the mold provides that perfect, consistent look.
Yes, these brownies are fantastic for making ahead, which is a huge bonus for party planning! You can bake the brownie bases up to 1-2 days in advance. Once they are completely cooled, store them in an airtight container at room temperature. The next day (or just before serving), prepare and pipe the frosting. This strategy makes party preparation much more relaxed and enjoyable.
The most important tip is to ensure the brownies are *completely* cooled before attempting to remove them from the silicone mold. Silicone naturally has nonstick properties, and once cooled, the brownies should pop out quite easily. If your particular mold has a tendency to stick, a very light coating of nonstick cooking spray before filling can provide extra assurance, but usually, cooling thoroughly is sufficient.
For a beautiful, classic swirl reminiscent of a deviled egg yolk, a large star tip (like Wilton 1M or 21) works wonderfully. A simple round tip (like Wilton 1A or 12) will also create a lovely, smooth “yolk” shape. For ultimate simplicity, you don’t even need a fancy tip; simply snip off a small corner from a zip-top plastic bag, and it will do the job perfectly! Don’t let specialized equipment stop you from making these fun treats.
Storage Tips for Your Deviled Brownies
One of the many reasons these Deviled Brownies are such a practical and popular party dessert is their ease of storage. Here’s how to keep them fresh and delicious:
- Unfrosted Brownie Bases: If you’ve baked the brownie bases ahead of time and haven’t frosted them yet, they can be stored in an airtight container at room temperature for up to 2 days. For extended freshness, you can refrigerate them for up to a week. Make sure they are completely cool before storing.
- Frosted Brownies (Refrigeration): Once frosted, especially with a buttercream that contains butter or milk, it’s safest not to leave them at room temperature for too long. Perishable foods, like those with dairy-based frosting, should not sit out for more than 2 hours. Your refrigerator should ideally be kept at or below 40 degrees F (4 degrees C). When refrigerating, arrange the brownies in a single layer in an airtight container. If stacking, place sheets of parchment paper between layers to prevent the frosting from smearing or sticking. They will stay fresh for 3-5 days.
- Freezing Frosted or Unfrosted Brownies: These brownies freeze wonderfully!
- For unfrosted brownies: Wrap them tightly in plastic wrap, then aluminum foil, and place them in a freezer-safe container or bag.
- For frosted brownies: First, place the frosted brownies on a baking tray in the freezer for about 30-60 minutes, until the frosting is firm. This “flash freezing” prevents the frosting from sticking. Once firm, transfer them to a freezer-safe airtight container, placing parchment paper between layers if stacking.
Frozen foods stored at 0 degrees F (-18 degrees C) or colder remain safe indefinitely from a food safety perspective. However, for optimal texture and flavor quality, it’s best to consume them within 1-2 months.
- Thawing and Serving: To serve after chilling or freezing, allow the brownies to sit at room temperature for about 15-30 minutes. This helps the brownie texture soften and allows the frosting to return to its creamy, delicious consistency. Since these are designed as decorated brownie bites, they don’t typically need reheating. If you’ve frozen unfrosted brownies, thaw them completely first, then decorate with frosting before serving for the freshest look.
Love this delightful recipe?
Be sure to follow us on Instagram and Pinterest for more inspiring recipes and creative ideas just like this one! Don’t miss out on our latest festive treats.
Servings: 20 brownies
Prep Time: 30 mins
Cook Time: 25 mins
Total Time: 55 mins
Deviled Brownies
Created By: Kat Jeter & Melinda Machado
These Deviled Brownies are a fun, easy Easter dessert made with a simple brownie mix and vibrant, colorful frosting. A great recipe for beginners, and canned frosting works wonderfully as a shortcut!
Print Recipe
Ingredients
- 1 box Brownie mix (+ ingredients on back of box)
- 1 cup Unsalted Butter, softened (for homemade frosting)
- 1 pound Powdered sugar (for homemade frosting)
- 1 tablespoon Water or milk (for homemade frosting)
- 2 teaspoons Vanilla extract (for homemade frosting)
- Food coloring of choice (for frosting)
- Optional shortcut: 1 can (16 oz) Vanilla or Cream Cheese Frosting
Instructions
- Make brownie mix according to package instructions.
- Place a silicone egg mold on a baking sheet and spoon brownie mix into the mold, filling each cup approximately ¾ of the way full.
- Bake at 350 degrees F (175 C) for 20-25 minutes, or until a toothpick stuck in the center comes out clean.
- When you remove the brownies from the oven, immediately press the back of a teaspoon into the center of each brownie, creating an indent where the frosting will go.
- Let the brownies cool completely in the mold before gently removing them.
- While the brownies cool, make your homemade frosting (if not using canned). Combine softened butter, powdered sugar, and 1 tablespoon of water or milk in the bowl of your mixer. Mix together on medium-high speed for 3 minutes.
- Add the vanilla extract and continue to mix until the frosting is light and fluffy. Adjust consistency with more liquid or powdered sugar if needed.
- Decide how many colors of frosting you want to make and divide the frosting evenly into the number of bowls needed.
- Add a drop or two of food coloring to each bowl and mix until the color is consistent.
- Using a frosting bag and tip (or a zip-top bag with the corner snipped), fill each cooled brownie bite with colorful frosting.
Nutrition
Serving: 1 brownie, Calories: 198kcal, Carbohydrates: 31g, Protein: 1g, Fat: 8g, Saturated Fat: 4g, Polyunsaturated Fat: 0.4g, Monounsaturated Fat: 3g, Trans Fat: 0.2g, Cholesterol: 12mg, Sodium: 75mg, Potassium: 2mg, Sugar: 24g, Vitamin A: 142IU, Calcium: 2mg, Iron: 1mg
Course: Dessert
Cuisine: American
